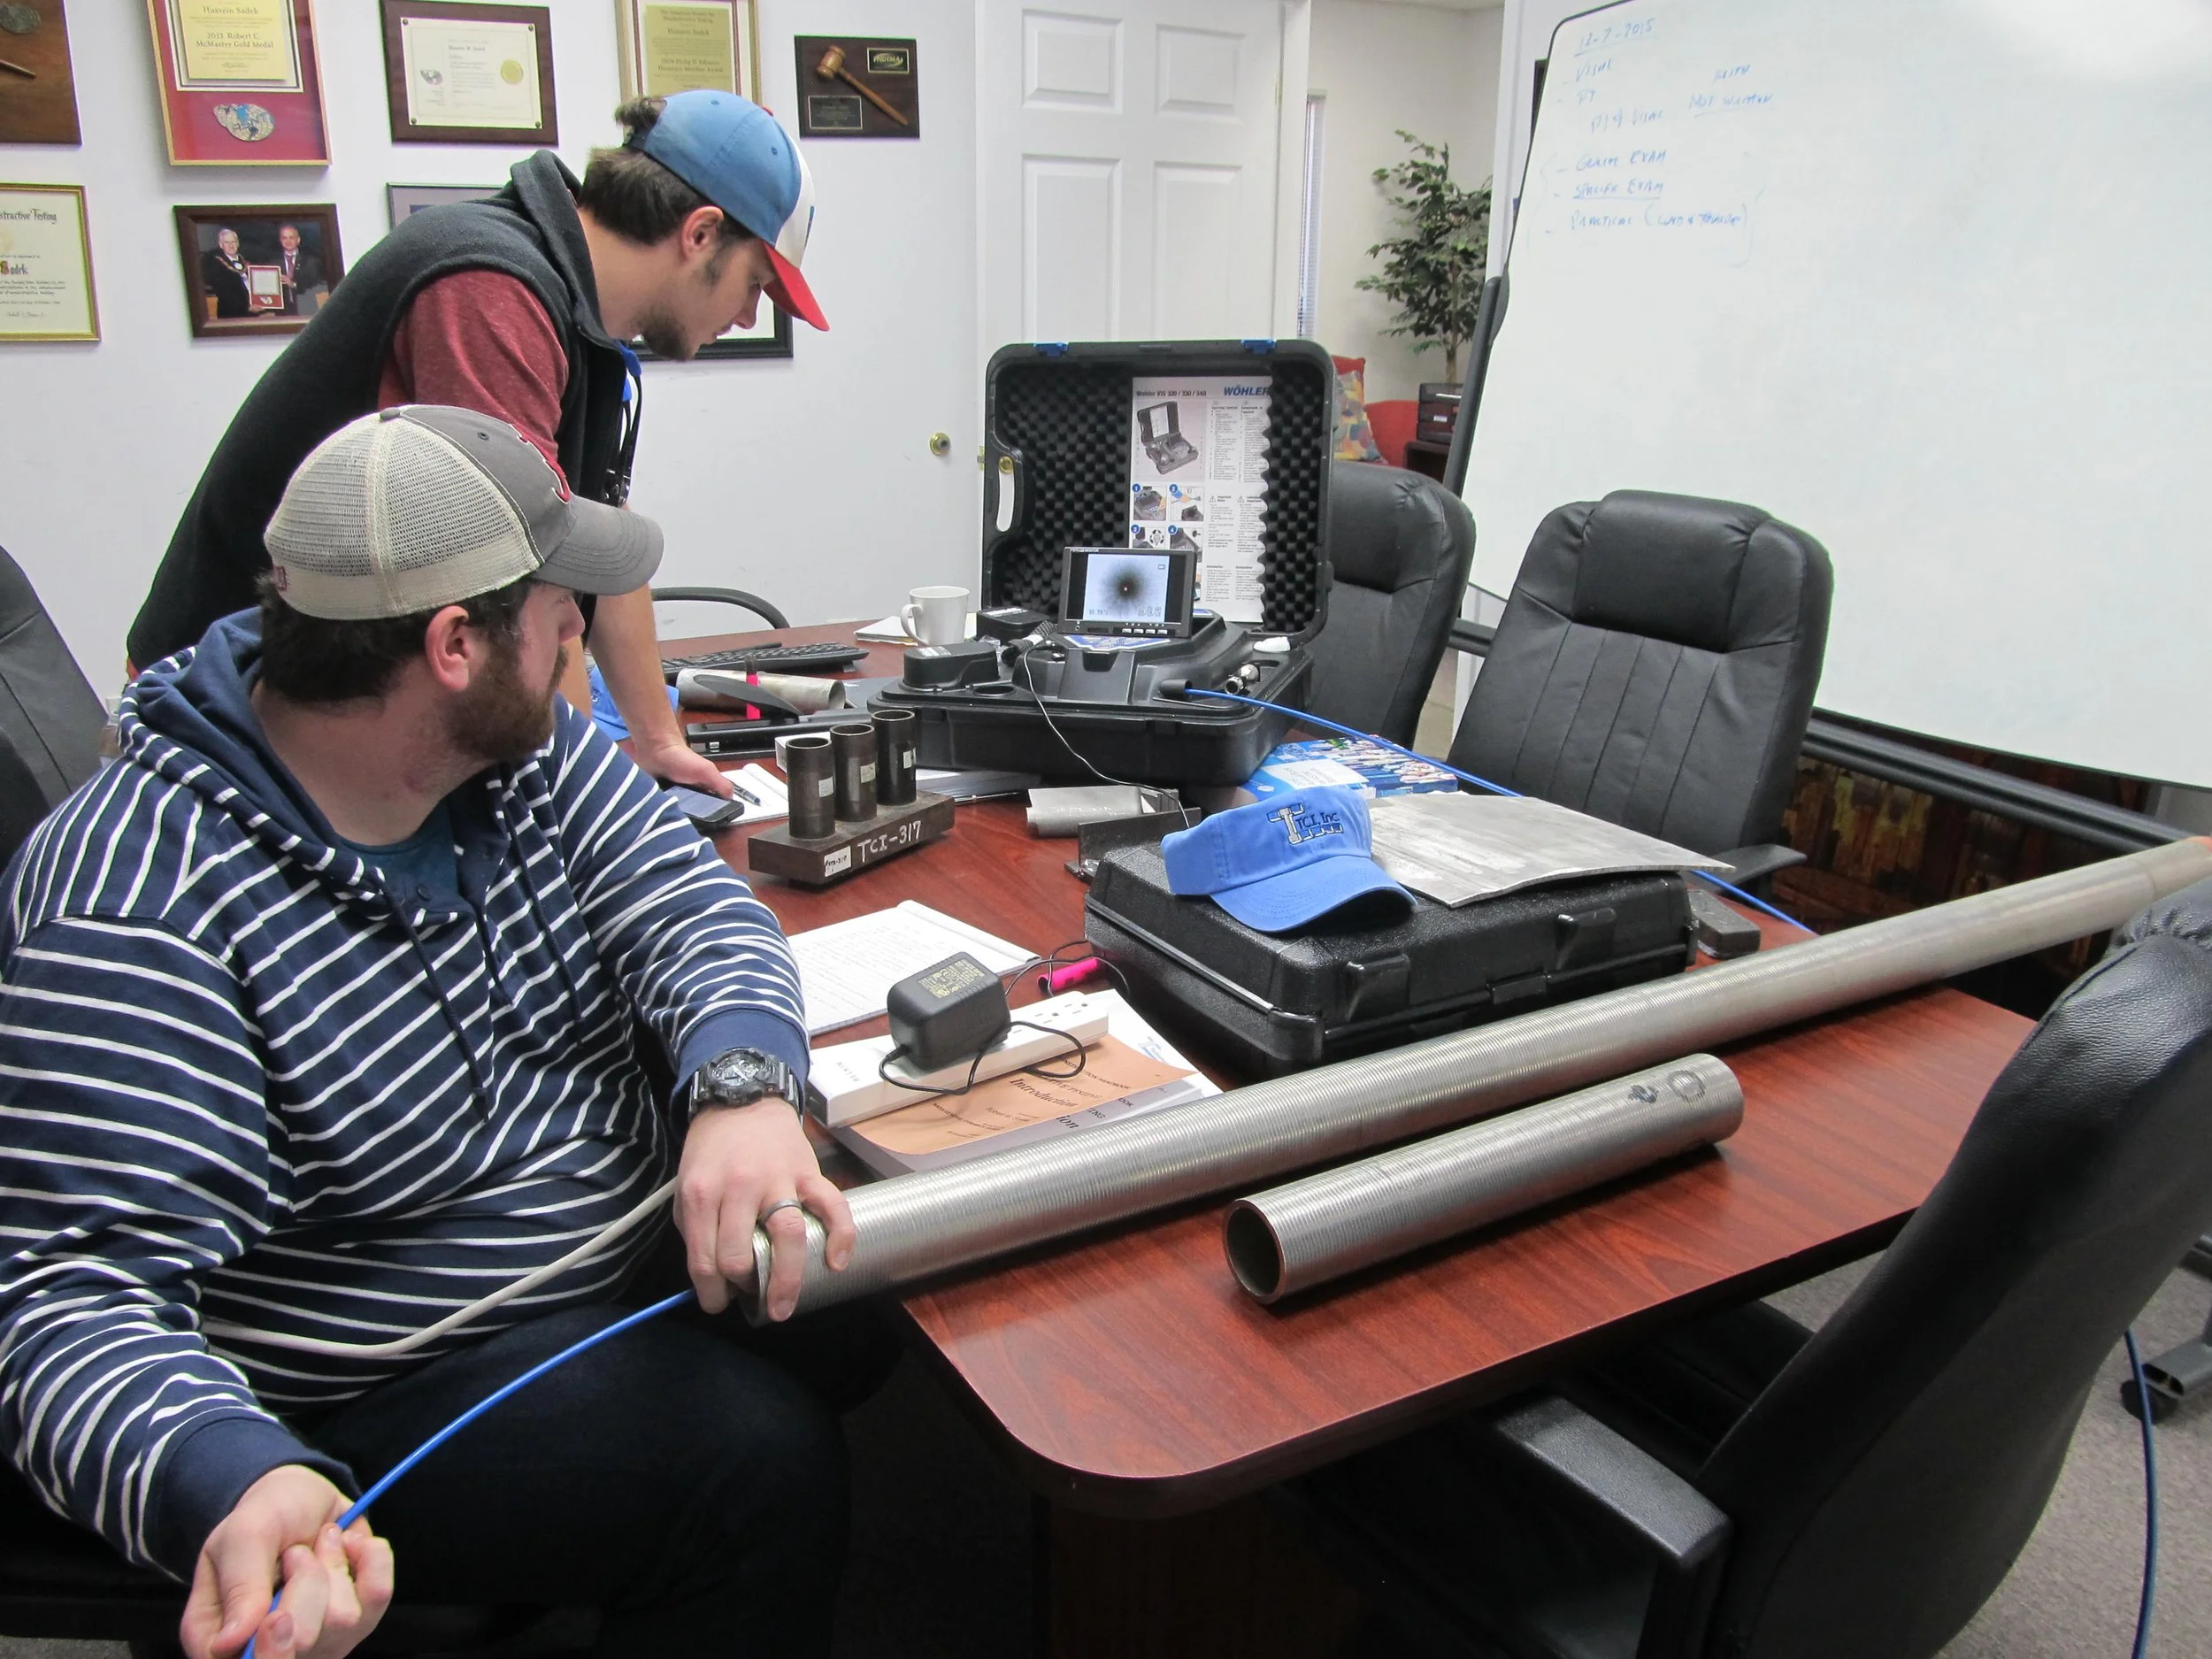
Visual Testing: Because most testing methods require that the technician looks at the surface of the part being inspected, visual inspection is inherent in most of the other test methods. As the name implies, VT involves the visual observation of the surface of a test object to evaluate the presence of surface discontinuities. VT inspections may be by Direct Viewing, using line-of-sight vision, or maybe enhanced with the use of optical instruments such as magnifying glasses, mirrors, fiberscopes, and computer-assisted viewing systems (Remote Visual). Corrosion, misalignment of parts, physical damage, and cracks are just some of the discontinuities that may be detected by visual examinations.
Applications:
Weld Examinations
Piping Systems
Pressure Vessels
Storage Tanks

